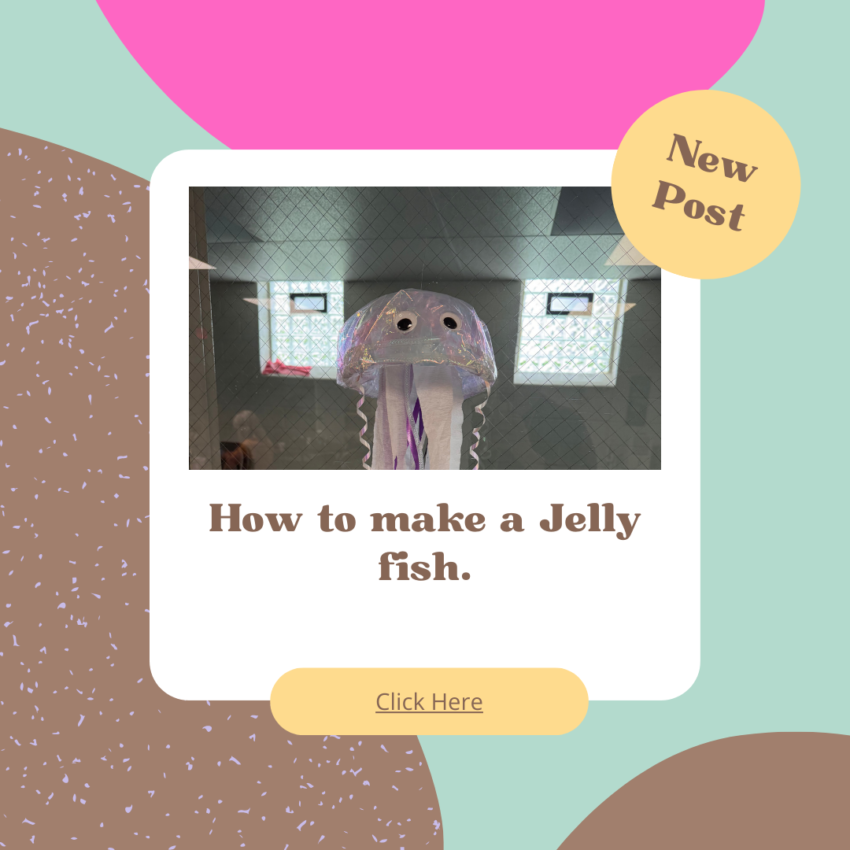
My church is getting ready for Vacation Bible School this year and we are learning that there is not a lot of instruction out there on how to create some of these crafts. So ,as we go along I’m going to share what we did and what worked or didn’t work for us. One of our first crafts were the bigger jelly fish and We loved the way they turned out. I do suggest to hot glue the white or color meshes in the inside of the jelly fish. We had a few tentacles fall off and they needed to be put back on. I hope you find this helpful and enjoy!
Here are the step by step instructions.
Introduction:
Crafting is a wonderful way to express creativity and bring a touch of whimsy into our lives. In this blog post, we will explore the enchanting world of jellyfish crafts – a fun and engaging project that is perfect for all ages. Join us as we dive into the art of creating your very own jellyfish craft!
Materials Needed:
– plastic dollar store bowl
– roll of iridescent paper
-Roll of dollar store whit streamers
-a few rolls of color and white ribbon from the dollar store
– a pack of white or other color mesh tubing from the dollar store.
– Scissors
– tape or/and hot glue gun w glue
– Googly eyes
– String , yarn or wire and two paper clips
– Optional: glitter, sequins, or other decorative elements
Step 1: drill a whole into the bowl so you can place the wire through it. use a paper clip as a stopper so the wire won’t pull through the bowl. Once you have the wire and paper clip there tap them from the inside together. Then take the iridescent paper and cut out a small piece. Enough to cover the outside of the bowl. Tape the top of the paper on top with a slit going around the wire to help hold the wire in place. You can also put a rolled-up tape under the iridescent paper to hold it into place. We did not tape the iridescent paper in the bowl till after we placed the tentacles in place, but this is a preferences thing and feel free to do it whatever way you choose.
Step 2: Create the Jellyfish’s Tentacles
To begin, cut the streamers and white mesh tubing , and the ribbon into long strips to create the jellyfish’s tentacles. You can use a mix of colors to add visual interest and make your jellyfish craft truly unique. Once you have your strips ready, glue or tape them to the inside of the bowl, allowing them to hang down like flowing tentacles.
Step 2: Add Eyes and Decorative Elements
Next, glue googly eyes onto the bowl to give your jellyfish a cute and whimsical face. You can also add glitter, sequins, or other decorative elements to enhance the look of your craft and make it sparkle and shine.
Step 3: This step is if you use string or yarn instead. Attach a Hanging String I
To allow your jellyfish to float and sway as if underwater, attach a string or yarn to the top of the bowl. Make sure it is securely attached so that you can hang your jellyfish craft wherever you like – in a window, from the ceiling, or even outside in a gentle breeze.
Step 4: Display and Enjoy!
Once your jellyfish craft is complete, find the perfect spot to display it and watch as it brings a touch of whimsy and magic to your space. Whether you make a whole school of jellyfish or just one special friend, this craft is sure to delight all who see it.
Conclusion:
Crafting a jellyfish is a delightful way to unleash your creativity and bring a bit of the ocean into your home. With just a few simple materials and a dash of imagination, you can create a charming jellyfish craft that is sure to make a splash. So, gather your supplies, dive in, and let your creativity flow as you craft your very own jellyfish masterpiece!

