
There is something about fall that makes me want to pull out the craft supplies.
Maybe it’s the cooler weather, the pumpkins showing up everywhere, or the fact that suddenly decorating the house with leaves, plaid, and warm colors feels completely reasonable.
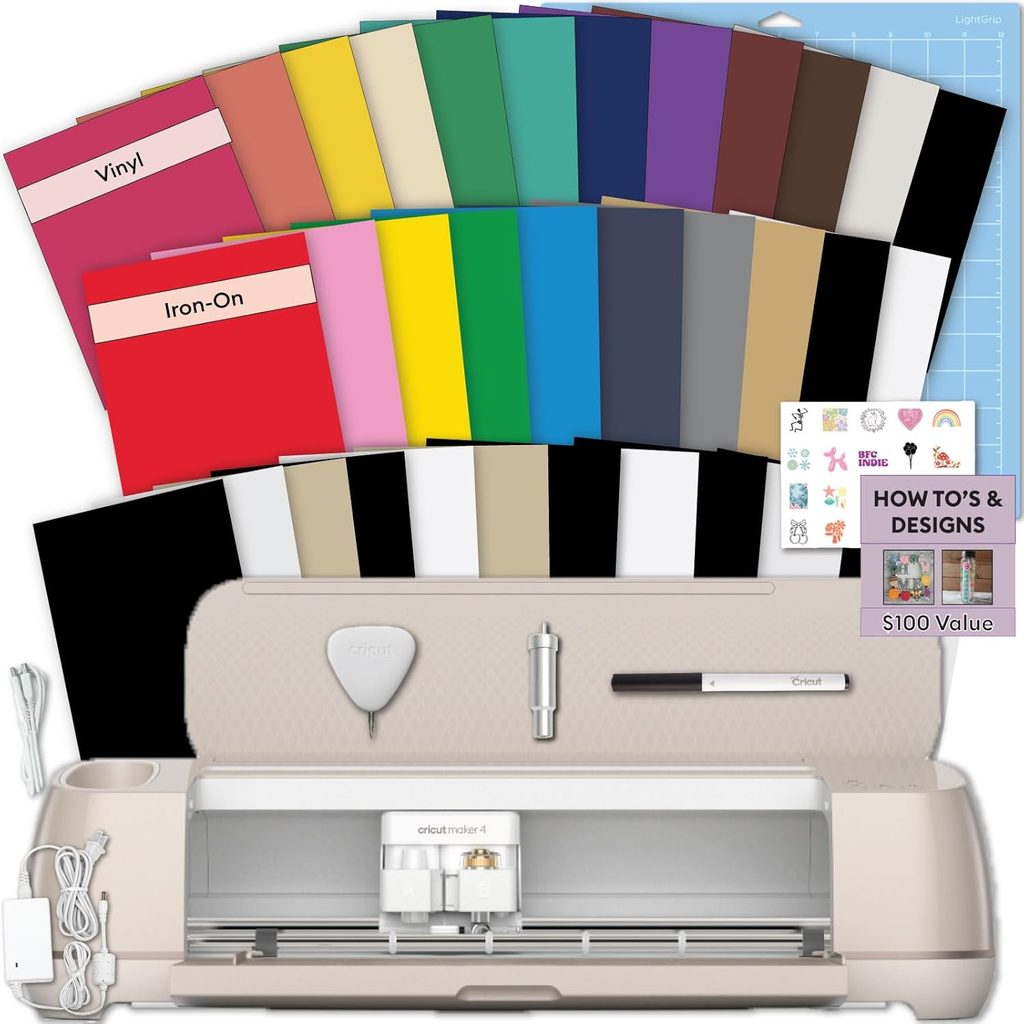
And if you have a Cricut Maker 4, fall is the perfect time to put it to work.
Today, we’re making a DIY Fall Welcome Sign that you can hang on your front door, display on your porch, or use inside your home. It’s beginner-friendly, customizable, and easy enough to make in an afternoon.
The best part?
Once you understand how to make it, you can use the same basic idea for Christmas, spring, birthdays, gifts, or even products for a small craft business.
What We’re Making
For this project, we’re going to create a rustic fall sign featuring the words:
Hello Fall
You can decorate it with pumpkins, leaves, acorns, or another fall design that fits your style.
Want something more farmhouse?
Try:
Welcome to Our Patch
Prefer something simple?
Happy Fall
That’s one of my favorite things about using a Cricut. You don’t have to make exactly what everyone else is making. You can take an idea and turn it into something that actually fits your home and personality.
Supplies You’ll Need
For this fall Cricut project, you’ll need:
- Cricut Maker 4
- Cricut Design Space
- Permanent vinyl
- Transfer tape
- Cricut cutting mat if required for your material
- Weeding tool
- Scraper or application tool
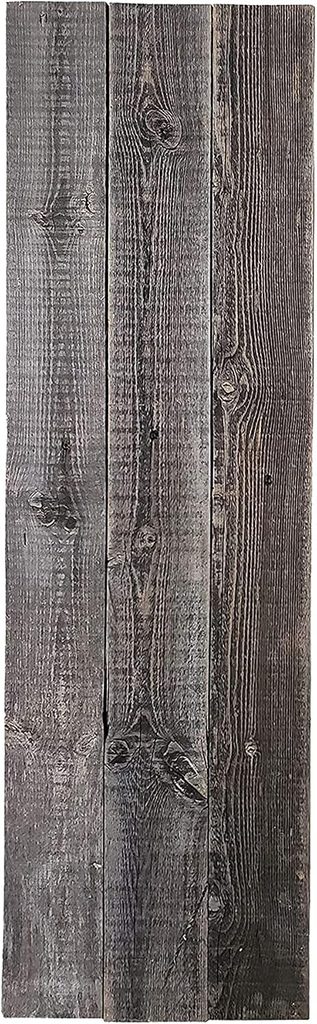
- Wooden sign or unfinished wood round
- Paint or wood stain
- Paintbrush or foam brush
- Fall ribbon or greenery, optional
- Hot glue gun, optional
- Twine or hanging hardware
Don’t feel like you need to buy every craft supply known to humanity before you start. Craft rooms have a mysterious ability to consume both money and square footage. 😂 Start with the basics and build your collection as you make more projects.
Step 1: Prepare Your Wooden Sign
Before touching the Cricut, prepare your sign.
If you’re using unfinished wood, lightly sand any rough areas and wipe away the dust.
You can leave the wood natural, stain it, or paint it.
For a traditional fall look, consider warm colors such as cream, burnt orange, brown, muted green, or black.
Let your paint or stain dry completely before applying vinyl.
This part matters.
Trying to put vinyl over paint that isn’t completely dry is one of those shortcuts that seems brilliant until your beautiful lettering decides it would rather leave the sign with the transfer tape.
Patience wins this round.
Step 2: Create Your Fall Design in Cricut Design Space
Open Cricut Design Space and start a new project.
Add your wording first.
For our example, type:
Hello Fall
Choose a font that matches the look you’re going for. A script font can give your sign a softer handmade appearance, while a bold font creates a clean farmhouse-style design.
Next, search Design Space for fall elements that complement your wording.
You might add:
- Pumpkins
- Maple leaves
- Acorns
- Sunflowers
- Autumn branches
- Pumpkin vines
Keep the design relatively simple if this is your first vinyl project.
Sometimes the prettiest projects aren’t the ones with seventeen different fonts, twelve pumpkins, three squirrels and a philosophical quote squeezed onto a 10-inch board.
Give your design room to breathe.
Step 3: Size Your Design
Measure your wooden sign before cutting anything.
If your sign is 12 inches wide, for example, you don’t necessarily want a 12-inch-wide design. Leave some space around the edges so the finished project doesn’t look crowded.
Resize the design in Design Space until you’re happy with the proportions.
This is also a good time to make sure your words and decorative elements are positioned exactly where you want them.
Step 4: Prepare Your Vinyl
Place your vinyl onto your cutting mat if your chosen material and setup require one, making sure it is smooth and secure.
Choose the appropriate material setting in Design Space.
Follow the prompts for your Cricut Maker 4 and load your material into the machine.
Then let the Cricut do what we bought the machine to do:
Cut all those beautiful little details so we don’t have to do it by hand.
That’s a relationship I can support.
Step 5: Weed Your Design
Once your Cricut has finished cutting, remove the vinyl and begin weeding.
Weeding simply means removing all the vinyl you don’t want on your finished project.
Use your weeding tool to carefully remove the vinyl around your letters and images.
Pay attention to small areas inside letters such as:
- A
- O
- R
- P
Small details can disappear surprisingly quickly, so take your time.
When you’re finished, only your final fall design should remain on the backing.
Step 6: Apply Transfer Tape
Cut a piece of transfer tape large enough to cover your design.
Place it over the vinyl and use your scraper to press firmly across the entire design.
Slowly lift the transfer tape.
Your vinyl design should come away from its original backing and remain attached to the transfer tape.
If part of the design doesn’t lift, lay the transfer tape back down and burnish that area again.
Step 7: Position Your Design
Before sticking the vinyl onto your sign permanently, decide exactly where you want it.
You can use a ruler to find the center of your sign or gently fold the transfer tape to identify the middle.
Once you’re satisfied with the placement, slowly lower the design onto the wood.
Start in the center and work outward to help prevent wrinkles or bubbles.
Use your scraper to press the vinyl firmly onto the sign.
Step 8: Remove the Transfer Tape
Now comes the satisfying part.
Slowly peel the transfer tape away at an angle.
Don’t pull it straight upward.
If any vinyl starts lifting with the transfer tape, stop, press it back down, and scrape over that section again.
Continue until all of the transfer tape has been removed.
And suddenly that plain piece of wood looks like something you might have paid far too much for at a home décor store.
Except you made it.
Step 9: Add the Fall Details
You could stop here and have a beautiful sign.
Or you can dress it up a little.
Add a fall bow to the top using wired ribbon.
You could also attach artificial leaves, small sunflowers, greenery, raffia, or miniature pumpkins.
For a more natural look, try combining muted greenery with a simple neutral ribbon.
Just remember that more decorations don’t automatically make a project better.
Sometimes one beautiful bow is enough.
Make It Your Own
This is where crafting gets fun.
Instead of copying the exact same design, create something that represents your home.
Try phrases like:
Welcome to Our Pumpkin Patch
Happy Harvest
Fall Sweet Fall
Pumpkin Kisses & Harvest Wishes
Gather Here
You could even personalize your sign with your family name.
The Norman Family
Add pumpkins underneath it and suddenly you’ve created something completely unique.
Turn One Project Into Several Fall Decorations
Once you’ve created your design, don’t stop with one project.
Use the same fall theme to make coordinating:
- Kitchen towels
- Coffee mugs
- Porch signs
- Pumpkin decals
- T-shirts
- Sweatshirts
- Tote bags
- Fall party decorations
- Gift tags
- Thanksgiving decorations
Just make sure you’re using materials appropriate for each project.
Your original wooden sign used permanent adhesive vinyl, but fabric projects may require iron-on or another suitable heat-transfer material.
Could You Sell Fall Cricut Crafts?
If you’re already crafting, you may eventually wonder whether you could turn your hobby into a little extra income.
Absolutely, but do your homework first.
You could create personalized signs, fall porch decorations, shirts, gift items, or seasonal products for craft fairs and online shops.
However, always check the licensing rights for fonts, graphics and Cricut images before selling finished products.
Personal use and commercial use aren’t automatically the same thing.
It’s much better to spend five minutes checking licensing than discovering later that the adorable pumpkin graphic you’ve been selling wasn’t licensed for commercial products.
Why I Like the Cricut Maker 4 for Seasonal Crafts
What I love about having a cutting machine is that one machine can help create projects for completely different parts of life.
You can make something for your home one weekend and create decorations for a birthday, church event, VBS project, small business, holiday or gift the next.
And you don’t have to be a professional crafter to start.
Your first project doesn’t need to look like it belongs in a magazine.
You learn by making things.
Some projects will turn out beautifully.
Others will teach you exactly what not to do next time.
Both count.
Create Something This Fall 🍁
Fall doesn’t have to mean buying all-new decorations every year.
Sometimes it’s more meaningful to spend an afternoon making something yourself.
Grab a wooden sign, choose your favorite fall colors, open Cricut Design Space and experiment.
Make the crooked pumpkin.
Try the new font.
Put too much ribbon on the bow and then take half of it back off.
That’s part of creating.
At the end of the afternoon, you won’t just have another fall decoration.
You’ll have something you made.
And every time you hang it up, you’ll remember that.
Happy fall and happy crafting! 🍂